Affiliate Disclosure
Plumber Guide Guys is a participant in the Amazon Services LLC Associates Program, an affiliate advertising program designed to provide a means for sites to earn advertising fees by advertising and linking to Amazon.
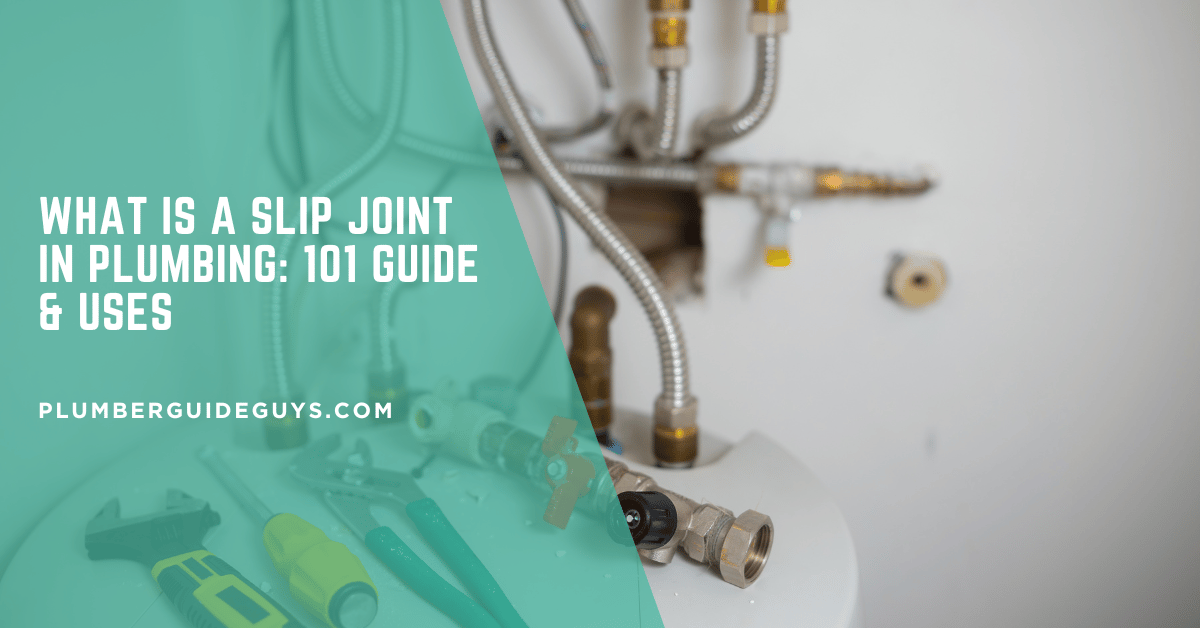
What Is a Slip Joint in Plumbing? Did you know over 60% of home plumbing uses slip-joint fittings? These fittings are key to your home’s plumbing, making it flexible and easy to set up.

Slip-joint fittings are clever. They use a nut and a rubber washer to seal pipes. They’re great for connecting pipes in sinks, toilets, and more.
Knowing about slip-joint fittings can save you money and time. They’re easy to use, making them perfect for both DIY projects and professional plumbing jobs.
Key Takeaways
- Slip-joint fittings create watertight seals in plumbing connections
- They use a nut and rubber washer for compression
- Ideal for drain pipe installations
- Provides flexibility in plumbing connections
- Suitable for both DIY and professional plumbing work
Table of Contents
What Is a Slip Joint in Plumbing
A slip joint connection is a key plumbing method. It makes connecting pipes easy in homes and businesses. These connections are simple and effective for joining drain pipes.
Slip joint fittings are smart plumbing solutions. They create tight seals without needing complex tools or permanent links. They are great for quick and easy pipe installations and adjustments.
How Slip Joint Connections Work
Installing a slip joint connection involves a few important steps:
- A slip joint connection uses a nut and a conical rubber washer
- As you tighten the nut, the washer compresses around the pipe’s smooth wall
- The compression creates a tight, leak-resistant seal
- Pipes can be easily adjusted or disconnected when needed
Components of a Slip Joint Fitting
Knowing the parts helps you understand the slip joint’s design:
| Component | Function | Material |
|---|---|---|
| Slip Joint Nut | Applies compression pressure | Brass or Chrome-plated |
| Rubber Washer | Creates watertight seal | Flexible Rubber/Plastic |
| Pipe | Connects plumbing fixtures | PVC, ABS, Chrome-plated Brass |
Slip joint connections are often used for P-traps under sinks or for connecting tailpieces to faucets and drains. Remember to avoid overtightening, which can deform washers and cause leaks.
Common Applications of Slip Joint Plumbing Connections
Slip-joint fittings are key in plumbing systems. They offer flexible solutions for many needs. This includes drain and sink setups in homes and businesses.
- Bathroom sink drain systems
- Kitchen sink connections
- P-trap installations under sinks
- Connecting tailpieces to faucets and drains
Slip-joint fittings make it easy to set up and adjust drain pipes. They ensure secure connections between parts. This allows for quick changes without needing special tools or skills.
It’s important to watch for slip-joint drain movement. Disposal vibrations or sink base jostling can cause issues. Regular checks help avoid leaks and keep water flowing right.
The big plus of slip-joint fittings is their flexibility. They offer a connection that can be taken apart and put back together without special equipment. This makes them great for both DIY projects and professional plumbing work.
Slip Joint vs Compression Fitting: Understanding the Difference
There are many ways to connect pipes in plumbing, like slip joints and compression fittings. Each has its own benefits for fixing and setting up pipes at home. They help make tight seals in various situations.
When to Use Each Type of Fitting
Compression fittings are great for joining plastic or copper pipes without using glue or solder. They’re best for:
- Quick pipe repairs
- Connections near existing plumbing
- Areas with limited workspace
Slip joints are used in certain cases, like:
- Drain pipe connections
- P-trap installations
- Sink and bathroom fixtures
Advantages and Disadvantages Compared
Compression fittings have a ring that goes around the pipe and a nut that tightens. This creates a tight seal. Many modern faucets and toilet shutoff valves use them for this reason.
The main differences are:
- Ease of Installation: Compression fittings are easy to use for quick repairs
- Slip joints are better for drainage systems
- Compression fittings offer a tighter seal for water lines
When picking between these fittings, think about your plumbing project and the materials. Push-to-connect and compression fittings are good alternatives to traditional methods, mainly for water lines.
P-Trap Slip Joint Configuration Under Your Sink

Your kitchen sink’s plumbing system uses slip-joint fittings for a reliable P-trap setup. These connections are key to keeping sewer gases out while making maintenance easy.
A typical P-trap under your sink has several slip joint connections:
- Connection between sink tailpiece and trap inlet
- Connection at trap’s curved section
- Connection between trap arm and wall pipe
Slip-joint fittings are the standard for P-traps under sinks. Each connection has a nut and conical rubber washer for a tight seal. Tightening the nut compresses the washer around the pipe, securing it.
The P-trap’s curved shape is vital. It holds water that blocks sewer gases from rising through your drain. The slip joint connections make it simple to take apart, clean, and put back together if needed.
Another great thing about your P-trap is its adjustability. Slip joint connections let you change pipe lengths without cutting them. This makes it easy to fit the trap to your kitchen’s layout.
Pro tip: Always ensure proper washer orientation and gentle nut tightening to maintain a leak-free seal.
How to Install Slip Joint Fittings Properly
Installing slip joint fittings is easy if you know the right steps. Whether it’s for a kitchen sink drain or a bathroom fix, knowing how to do it right saves time and prevents water damage.
Essential Tools and Materials
Before you start, make sure you have these important tools and materials:
- Pipe wrench or adjustable pliers
- Plumber’s tape (Teflon tape)
- PVC or ABS trap kit
- Replacement pop-up drain
- Trap adapter
- Bucket
- Clean towels
Step-by-Step Installation Guide
Here are the detailed steps for a proper slip joint fitting installation:
- Prepare the Work Area: Put a bucket under the sink to catch water or debris.
- Remove Old Components: Disconnect the slip joint fittings and remove the old P-trap and drain pipe.
- Install New Pop-Up Drain: Use plumber’s putty around the flange for a tight seal.
- Connect P-Trap: Attach the trap adapter to the wall stub-out. Then, connect the P-trap to the sink drain with slip joint nuts and washers.
- Test for Leaks: Run water for a few minutes. Check all connections and tighten if needed.
Pro Tip: Avoid overtightening slip joints, as this can deform washers and cause leaks.
By following these steps, you can install slip joint fittings correctly. This ensures a secure and leak-free plumbing connection.
Kitchen Sink Slip Joint Assembly and Maintenance

Keeping your kitchen sink’s slip joint connections in good shape is key. It stops water damage and makes sure water drains well. Regular checks can spot problems early, saving you from big repair bills.
Slip-joint drains need extra care, mainly because of vibrations from appliances like garbage disposals. If the sink base shakes, it can break the seal.
- Check slip joint connections monthly for signs of wear
- Use a drain guard to catch debris and prevent clogs
- Clean the pop-up drain regularly
- Flush pipes with hot water and baking soda
Stay away from harsh chemical drain cleaners. They can harm your pipes. Choose gentle cleaning methods to keep your plumbing safe.
Here are some important maintenance steps:
- Inspect washers and seals for cracks
- Tighten connections if you notice slight leaks
- Replace worn components promptly
- Clean drain areas to prevent buildup
By following these easy maintenance tips, you’ll make your kitchen sink’s slip joint connections last longer. This will also help avoid sudden plumbing problems.
Troubleshooting Leaking Slip Joint Problems
Slip joint connections are key to keeping your plumbing system leak-free. Knowing how to spot and fix common leaks can prevent water damage and expensive fixes.
Identifying Common Leak Sources
Leaks often show up at plumbing joints. This includes where the trap kit meets the trap adapter or sink drain. These leaks can be hidden, leading to water damage or mold.
- Check every connection for leaks
- Look for water stains or moisture around pipe joints
- Listen for dripping sounds near sinks and drains
Preventing Slip Joint Leak Failures
Avoid over-tightening slip joints to prevent washer damage and leaks. Aim for a secure yet gentle fit. It’s easy to loosen, clean, and tighten again if needed.
Slip Joint Washer Replacement Guide
Replacing worn-out washers is a simple way to prevent leaks. Here’s a quick guide:
- Turn off the water supply
- Place a bucket under the connection
- Loosen the slip joint nut
- Remove the old washer
- Clean the pipe surface well
- Put in a new washer with the beveled side facing the nut
- Reassemble the connection
Washers are cheap and come in different sizes. Make sure to measure your pipe (usually 1-1/4″ or 1-1/2″ for sink drains) to get the right size.
Slip Joint Plumbing Pipe Materials and Compatibility
Choosing the right materials for your slip joint plumbing connections is key. Plumbing fittings come in many materials, each with its own benefits and uses.
PVC and ABS plastic are top picks for drain pipes. PVC is usually white or gray, while ABS is black. These plastics are great because they are:
- Lightweight and easy to handle
- More affordable than metal
- Resistant to chemical damage
Chrome-plated brass is perfect for visible drain setups. It gives a shiny, professional look for places like under pedestal sinks or wall-mounted lavatories. Brass is durable but can be pricier and may corrode in harsh water.
Remember these important points when picking materials:
- Match the materials of your existing pipes
- Check if they meet local building codes
- Think about how visible the installation will be
- Make sure all parts fit together well
Pro tip: Use transition fittings for different pipe types. But, it’s best to stick with the same material for your drain assembly for the best look and function.
Conclusion
Slip joints are a great plumbing solution that makes home maintenance easier. These fittings let you adjust pipes during installation and clean clogs without cutting them. Knowing how to use them can save you a lot of money on professional services.
Slip joints are great for homes with unique plumbing needs. Keeping spare parts handy lets you fix things quickly. Regular checks and proper tightening can prevent leaks and keep your system working well.
Even though slip joints can be taken apart and put back together many times, it’s important to know your limits. Some plumbing problems need a professional’s help. Learning basic maintenance and knowing when to ask for help can protect your plumbing and save you money.
Slip joint fittings are a smart design that makes plumbing systems work well. They are simple yet effective. With the right knowledge, you can handle small plumbing issues easily and keep your home’s drainage system in good shape.