Affiliate Disclosure
Plumber Guide Guys is a participant in the Amazon Services LLC Associates Program, an affiliate advertising program designed to provide a means for sites to earn advertising fees by advertising and linking to Amazon.
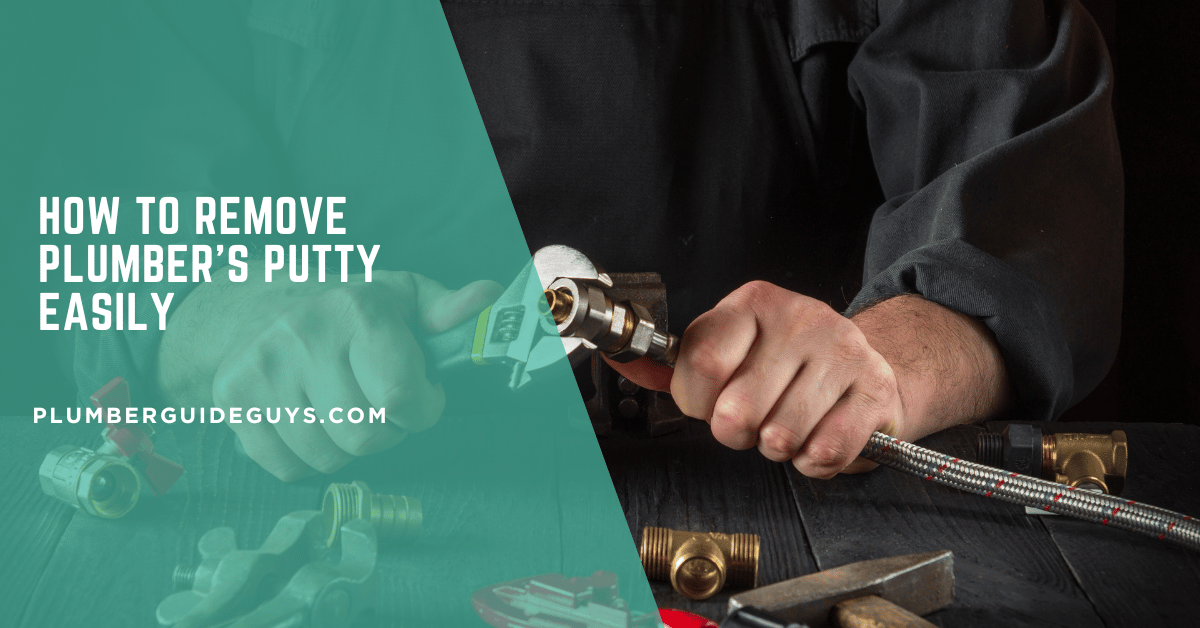
How to Remove Plumber’s Putty Easily? Ever wondered why removing plumber’s putty can be both frustrating and surprisingly simple? Professional plumbers know that mastering the art of plumbing putty removal techniques is key for smooth repair work.

Plumber’s putty is a versatile sealant used in many home and professional plumbing projects. Knowing how to remove it correctly can save you time. It also prevents damage to fixtures and ensures a clean, professional finish.
This guide will show you everything you need to know about efficiently removing plumber’s putty from different surfaces. Whether you’re a DIY enthusiast or a professional plumber, these techniques will help you tackle putty removal with confidence.
Key Takeaways
- Plumber’s putty is a non-adhesive sealant used in plumbing
- Proper removal requires specific tools and techniques
- Heat and scraping methods can effectively remove putty
- Different surfaces may require unique removal approaches
- Careful removal prevents damage to plumbing fixtures
Table of Contents
Understanding Plumber’s Putty: What It Is and Its Uses
Plumber’s putty is a special sealant used in plumbing. It makes sure water doesn’t leak from fixtures. This is key for installing plumbing parts right.
Experts use plumber’s putty to make plumbing connections tight. It’s a must-have for dissolving putty and ensuring smooth connections. Let’s look at what makes it special and how it’s used.
Common Applications in Plumbing
Plumber’s putty is used in many important places:
- Sealing drain assemblies between sinks and garbage disposals
- Creating watertight connections around faucets
- Preventing leaks in sink and fixture installations
- Providing temporary sealing for plumbing connections
Composition and Properties
Experts know plumber’s putty is made of:
- Clay as the main material
- Linseed oil for flexibility
- Mineral spirits
- Fish oil
- Limestone for extra strength
“Plumber’s putty is like the Swiss Army knife of plumbing sealants – versatile, reliable, and essential for professional installations.” – Professional Plumbing Association
Benefits Over Other Sealants
Plumber’s putty has some big advantages:
- Exceptional malleability for easy application
- Simple sink putty removal process
- Non-hardening formula
- Cost-effective solution for minor sealing tasks
Knowing about plumber’s putty can boost your confidence in tackling plumbing tasks at home.
Essential Tools and Materials for Putty Removal
To remove plumbing putty, you need the right tools and materials. A good toolkit makes the job easier and safer. It helps you get the job done right.
Here are the key items for your toolkit:
- Putty Knife: A flexible, thin-edged tool for scraping and lifting putty
- Plastic Scraper: Prevents scratching delicate surfaces during removal
- Rubbing Alcohol: Helps dissolve and clean stubborn putty residue
- Clean Rags or Microfiber Cloths: For wiping and cleaning surfaces
- Protective Gloves: Shields your hands from chemicals and sharp edges
- Safety Glasses: Protects eyes during the removal process
Always put safety first when removing plumbing putty. Wear protective gear and work in a well-ventilated area. This helps avoid risks.
Special tools might be needed for different surfaces. Use soft scrapers for ceramic or porcelain to avoid damage. Metal surfaces can handle more aggressive cleaning methods.
Pro Tip: Always test your cleaning method on a small, inconspicuous area first to ensure you won’t damage the surface.
How to Remove Plumber’s Putty: Step-by-Step Guide
Removing plumber’s putty is easy when you know the right steps. It’s useful for sinks, faucets, and other plumbing. Knowing how to do it right keeps your plumbing in good shape.
Before you start, make sure you have the right tools. This will help you remove the putty without causing damage. You’ll need:
- Putty knife
- Soft cloth
- Rubbing alcohol
- Plastic scraper
Breaking the Initial Seal
The first step is to break the seal. Press down hard on the joint to make small cracks in the putty. This makes it easier to remove and avoids damage to the area.
Scraping Techniques
Scraping the putty needs to be done gently. Hold the putty knife at a 45-degree angle to lift and remove the putty. For tough spots, work in small sections to avoid using too much force.
Cleaning Residual Putty
After removing most of the putty, clean up any left-over with rubbing alcohol and a soft cloth. This makes the surface ready for new putty or other sealants.
Pro Tip: Always work slowly and carefully to avoid scratching or damaging your plumbing fixtures.
Dealing with Stubborn or Hardened Putty
Removing hardened plumber’s putty can be tough, but the right methods can help. Plumbers use patience and specific techniques to dissolve it. This ensures a clean seal.
For very hard putty, you’ll need to try different ways to soften it. Here are some effective methods:
- Apply gentle heat to soften the material
- Use specialized chemical solvents
- Employ mechanical scraping techniques
- Utilize petroleum-based products
Heat is often the best way to soften putty. A heat gun or hairdryer can break down the material. Be cautious and maintain a safe distance to prevent surface damage.
| Method | Effectiveness | Difficulty Level |
|---|---|---|
| Heat Application | High | Easy |
| Chemical Solvent | Medium | Moderate |
| Mechanical Scraping | Low | Difficult |
For delicate surfaces, use mineral spirits or putty removers. These can dissolve the putty without harming the surface.
Pro tip: Always test your chosen method on a small, inconspicuous area first to ensure it won’t cause unintended damage.
Using Heat Methods for Putty Removal
Heat is a powerful tool for softening plumber’s putty. Both pros and DIY fans use it to remove tough sealants.
To remove plumber’s putty, apply heat carefully. This method can make the job easier and faster.
Heat Gun Application
A heat gun is great for precise heat control. Here’s how to use it:
- Set the heat gun to a low-medium setting
- Hold the gun 4-6 inches from the putty surface
- Move the heat gun continuously to prevent surface damage
- Apply heat for 30-45 seconds
Hairdryer Technique
If you don’t have a heat gun, a hairdryer works too. Experts suggest using the highest heat safely
- Use the hairdryer’s highest heat setting
- Keep the dryer 6-8 inches away from the putty
- Rotate the dryer to distribute heat evenly
- Stop when the putty begins to soften
Safety Precautions
Always be safe when using heat:
- Wear heat-resistant gloves
- Use safety glasses to protect your eyes
- Work in a well-ventilated area
- Keep flammable materials away
Pro tip: Always test heat methods on a small, inconspicuous area first to ensure you won’t damage the surrounding surface.
Removing Putty from Different Surfaces
Removing sink putty needs a special approach for each surface. You must use the right method to clean old plumber’s putty without harming the surface.

When cleaning bathtub putty, consider the surface’s unique features. Here are some strategies for different surfaces:
- Porcelain surfaces: Use soft plastic scrapers to avoid scratching
- Stainless steel: Metal putty knives work best with gentle pressure
- Natural stone: Opt for silicone-based sealants to prevent staining
- Plastic fixtures: Plastic scrapers and mineral spirits are most effective
For delicate surfaces like marble or granite sinks, be extra careful. Silicone sealants offer better protection against discoloration than traditional plumber’s putty.
| Surface Type | Recommended Removal Tool | Potential Risks |
|---|---|---|
| Porcelain | Plastic Scraper | Surface Scratching |
| Stainless Steel | Metal Putty Knife | Minor Surface Marks |
| Natural Stone | Silicone Sealant | Potential Staining |
| Plastic | Plastic Scraper + Mineral Spirits | Chemical Damage |
Always test your chosen removal method on a small, hidden area first. This ensures you won’t damage the surface during sink putty removal or bathtub putty cleanup.
Cleaning Up Linseed Oil Stains and Residue
After removing plumber’s putty, you might find stubborn linseed oil stains. These oily residues can be hard to clean. But, with the right steps, you can remove plumber’s putty residue from different surfaces.
Removing excess plumber’s putty is just the first step. Cleaning up is key. Linseed oil can leave tough marks that need special care.
Natural Cleaning Solutions
Natural cleaners are great for linseed oil stains:
- White vinegar mixed with warm water
- Baking soda paste
- Dish soap solution
Make a simple cleaner by mixing:
- 1 cup white vinegar
- 2 cups warm water
- 1 tablespoon dish soap
Chemical Cleaners and Solvents
Chemical cleaners are good for tough stains:
- Mineral spirits: Great for oil-based stains
- Paint thinner
- Specialized degreasing agents
When using chemicals, work in a well-ventilated area and wear gloves. Use a clean rag to apply the solvent. Wipe gently to avoid damaging the surface.
Pro tip: Test any cleaning solution on a small, inconspicuous area first to ensure it won’t damage the surface.
Special Considerations for Delicate Fixtures
Removing plumbing putty from delicate fixtures needs extra care. Each surface requires a special approach to avoid damage and keep the fixture looking new.

When you’re removing sink putty from sensitive surfaces, be gentle and careful. Materials like brass, chrome, and decorative finishes need special care to prevent scratches or discoloration.
- Identify the fixture’s material before starting removal
- Select soft-bristled tools for scraping
- Use minimal pressure during putty extraction
- Protect surrounding areas with protective tape
Warning: Never use plumber’s putty on granite or marble surfaces. These materials can easily stain or react to chemicals.
| Surface Type | Recommended Removal Method | Caution Level |
|---|---|---|
| Chrome | Plastic scraper, mineral spirits | Medium |
| Brass | Soft cloth, mild solvent | High |
| Porcelain | Soft plastic tool, warm water | Low |
Professional plumbers suggest using special plastic tools for removing putty from delicate surfaces. These tools help avoid scratches and remove old sealant well.
Common Mistakes to Avoid During Putty Removal
Many DIY fans make big mistakes when removing plumber’s putty. These errors can harm surfaces or mess up the removal. Knowing these mistakes helps you do a clean and easy putty removal.
- Avoid using excessive force during plumbing putty removal techniques
- Never use sharp metal tools that might scratch delicate surfaces
- Always protect surrounding areas before starting putty removal
One big mistake is rushing the removal. Patience is key when working with plumber’s putty. Scraping too hard can damage the surface, like porcelain or metal.
“The right technique matters more than brute force when removing plumber’s putty.” – Professional Plumber
Another mistake is not preparing the surface right. Before removing old putty, make sure you have the right tools and a clean area. Not cleaning well can leave residue that makes sealing hard later.
- Clean the surface thoroughly before putty removal
- Use appropriate removal tools specific to your surface
- Work in a well-lit and well-ventilated area
Temperature and technique are key for removing putty right. Using the wrong heat or scraping method can damage the surface or not remove all the putty.
By avoiding these mistakes, you’ll make the putty removal smoother. This protects your fixtures and gets the surface ready for new sealants.
When to Replace Old Putty with Alternative Sealants
Choosing the right sealant is key in plumbing projects. Knowing when to use plumber’s putty or other options ensures a good seal. This is important for sink putty removal and other repairs.
Not all sealants are created equal. The right product depends on several factors. These factors affect how well you can dissolve plumber’s putty.
Comparing Silicone and Plumber’s Putty
When choosing between silicone and plumber’s putty, consider these differences:
- Plumber’s putty is best for temporary seals
- Silicone offers a strong, lasting bond
- Plumber’s putty stays soft after use
- Silicone forms a tough, waterproof seal
Modern Sealant Alternatives
New sealant technologies provide more options for various needs. Some modern alternatives include:
- Epoxy-based sealants for long-lasting durability
- Hybrid polymer sealants for flexible use
- Water-resistant synthetic compounds
Your project’s needs will guide your choice of sealant. Think about the surface, water exposure, and long-term needs before deciding.
Conclusion
Learning how to remove plumber’s putty can save you a lot of time and stress. We’ve covered many ways to deal with this common plumbing issue. Knowing how to remove fresh or hardened putty can greatly improve your project’s outcome.
You now have the tools and knowledge to handle different surfaces and situations confidently. You can use heat or the right tools to remove plumber’s putty efficiently. Always be patient and careful to avoid damaging your fixtures and surfaces.
As plumbing technology changes, it’s important to stay updated on new sealants and removal methods. While plumber’s putty is reliable, exploring modern options can be beneficial for certain repairs. With practice, you’ll get better at these important home maintenance tasks.
What you’ve learned today will help you in future plumbing projects. By using the right methods and understanding different techniques, you’ll be ready for any sealing challenge.