Affiliate Disclosure
Plumber Guide Guys is a participant in the Amazon Services LLC Associates Program, an affiliate advertising program designed to provide a means for sites to earn advertising fees by advertising and linking to Amazon.
How to Plumb a Wall? Ever wondered what makes a pro’s wall plumbing job different from a DIY mess? It’s not just about hooking up pipes. It’s about making a system that’s reliable and won’t leak for years.
Knowing how to plumb a wall is key for homeowners and DIY fans. It’s vital for upgrading your home, like renovating a bathroom or adding a kitchen sink. It can save you a lot of money on repairs.
This guide will show you every important step in wall plumbing. You’ll learn to do complex plumbing jobs like a pro.
Key Takeaways
- Learn essential techniques for successful wall plumbing
- Understand the importance of proper planning and measurement
- Discover critical tools needed for wall plumbing
- Avoid common mistakes in pipe installation
- Gain insights into professional-level plumbing strategies
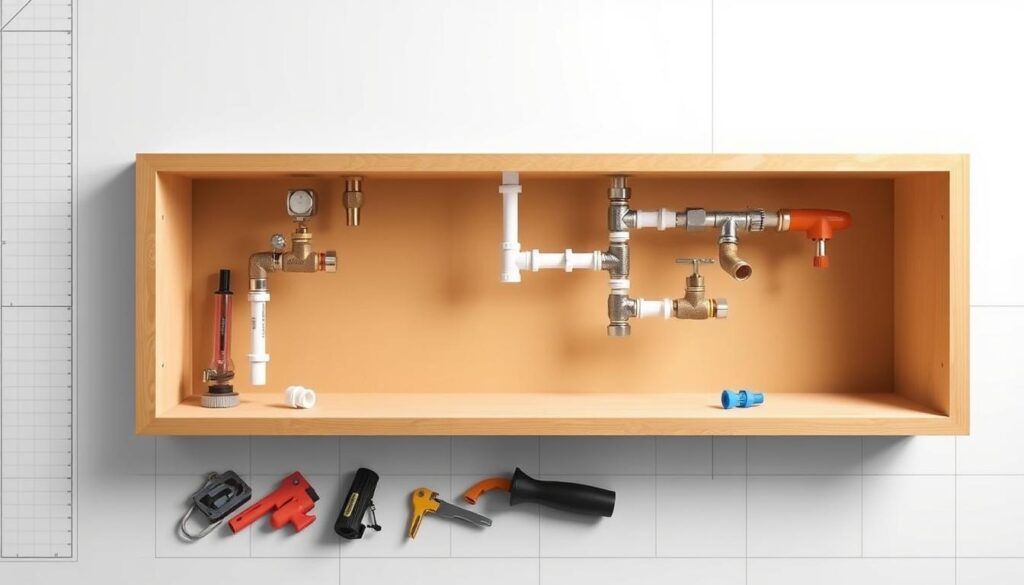
Essential Tools and Materials for Wall Plumbing
Getting ready to install bathroom plumbing in walls needs careful planning and the right tools. Wall cavity plumbing requires precision and specific tools for a successful job. Your preparation will affect the quality and efficiency of your plumbing work.
Before starting your plumbing project, it’s important to gather all the necessary tools and materials. Professional plumbers know that the right equipment makes a big difference. It can turn a smooth installation into a frustrating experience.
Basic Plumbing Tools
- Pipe cutter
- Adjustable wrench
- Soldering torch
- Tape measure
- Level
- Hacksaw
- Pipe threading tool
Required Materials and Fixtures
| Material Category | Specific Items |
|---|---|
| Pipes | Copper, PEX, or PVC pipes |
| Fittings | Elbows, tees, couplings |
| Fixtures | Sink, toilet, shower valves |
| Connectors | Compression fittings, solder rings |
Safety Equipment Checklist
- Safety glasses
- Work gloves
- Protective clothing
- Respirator mask
- Steel-toed boots
Pro tip: Always double-check your tools and materials before starting your wall plumbing project to prevent unnecessary delays and complications.
Understanding Wall Framing Basics
When you plan to hide plumbing in wall framing, knowing the basics is key. Wall framing is like the skeleton of your walls. It supports the walls and makes room for plumbing lines.
The main parts of wall framing are:
- Top plates (horizontal framing members at the ceiling)
- Bottom plates (horizontal framing members at the floor)
- Vertical studs (16-inch or 24-inch on center)
- Blocking (additional wooden supports between studs)
To hide plumbing, you must understand these parts. Studs are usually 14.5 inches apart. This space is perfect for pipes and keeps the wall strong.
“Proper understanding of wall framing is the foundation of successful plumbing installation” – Professional Contractors Association
It’s important to think about load-bearing parts when planning plumbing. Never cut or drill too much in these areas. Always check building codes and get help from experts for tricky jobs.
Your aim is to find a good path for plumbing. This path should not harm the wall’s strength. It should also make sure water and drainage work well in your space.
Planning Your Wall Plumbing Layout
Creating a good plumbing layout needs careful planning and precision. Your wall plumbing design affects your home’s water system. Knowing how to route water pipes through walls can save time, money, and future problems.
Before starting, you need a smart plan for water supply line wall routing. Good planning ensures water flows well and avoids installation issues.
Measuring and Marking Techniques
Getting accurate measurements is key for a good plumbing job. Follow these steps:
- Use a laser level for precise alignment
- Mark pipe routes with bright, removable chalk
- Measure twice to confirm accuracy before cutting
- Leave extra space for future changes
Identifying Stud Locations
It’s important to know your wall’s structure when running pipes. A good stud finder helps you:
- Find wooden studs accurately
- Avoid cutting through important structural parts
- Plan pipe routes that don’t interfere with the structure
Planning Pipe Routes
Smart pipe routing boosts your plumbing system’s efficiency. Think about these points:
- Keep pipe length short to avoid pressure loss
- Choose direct routes with fewer bends
- Ensure pipes slope correctly for drainage
- Plan for easy access and repairs later
Pro tip: Always check local building codes and consider a pro for complex layouts.
How to Plumb a Wall: Core Installation Steps
Learning to plumb a wall needs careful planning and exact steps. You must follow a set process to ensure your water supply and drainage work right.
First, get your wall ready for pipes. Measure and mark where the pipes will go. Remember to follow key rules for pipe placement and support.
- Clear the wall cavity of debris and obstructions
- Verify stud spacing and framing integrity
- Identify any obstacles like electrical wiring
- Make sure there’s enough space for the pipes
Choosing the right pipe size is key. Pick pipes that fit your water and drainage needs.
| Pipe Type | Recommended Use | Typical Diameter |
|---|---|---|
| Copper | Cold and Hot Water Supply | 1/2 to 1 inch |
| PEX | Flexible Water Lines | 3/8 to 3/4 inch |
| PVC | Drainage Systems | 1.5 to 4 inches |
Making tight connections is important. Use soldering for copper or compression fittings for PEX. Secure pipes to framing with special hangers and supports to avoid damage.
Keep drainage slopes right and add vents as needed. This ensures your plumbing works well and meets local codes.
Proper Techniques for Notching Studs
Notching studs for plumbing needs precision and following certain rules. Knowing the right way to notch studs helps keep your walls strong. It also makes installing pipes easier.
Notching wall studs right means planning carefully and respecting building rules. Doing it wrong can weaken your walls. This could cause serious problems.
Building Code Requirements for Stud Notching
Plumbers and contractors must stick to building codes for notching studs. These rules keep walls stable and prevent them from failing.
- Notches should not exceed 1/4 of the stud width
- Hole diameter must be less than 40% of the stud’s width
- Notches must be placed in the middle third of the stud’s height
- Avoid notching near the top or bottom plates of the wall
Common Notching Mistakes to Avoid
Many DIY folks make big mistakes when notching studs. Knowing these mistakes helps avoid damaging your walls.
“Careful planning prevents structural compromise during plumbing installations.” – Building Safety Experts
| Mistake | Potential Consequence |
|---|---|
| Over-cutting stud width | Reduced wall structural integrity |
| Notching load-bearing walls incorrectly | Risk of wall collapse |
| Placing notches near wall ends | Weakened framing support |
If you’re unsure about notching techniques, talk to a pro contractor or a local building inspector. They can check if your work meets safety standards.
Installing Water Supply Lines
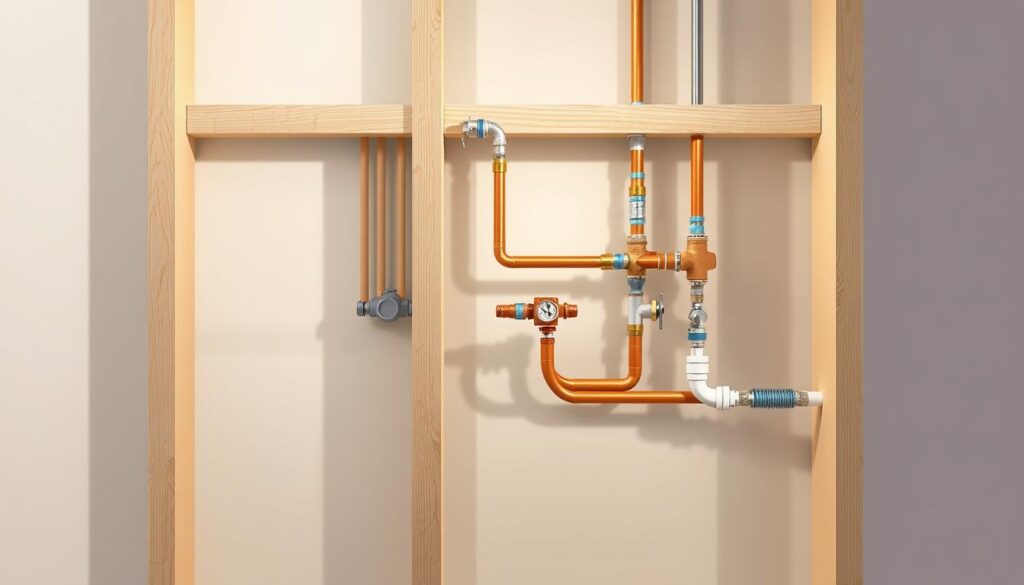
Running water pipes through walls needs careful planning and precise execution. The way you route your water supply lines affects your home’s plumbing system. Choosing the right materials and following the right installation techniques is key for lasting performance.
When installing water supply lines, you have to pick from several pipe materials:
- Copper pipes: Durable and long-lasting
- PEX (Cross-linked Polyethylene): Flexible and easy to install
- CPVC (Chlorinated Polyvinyl Chloride): Resistant to corrosion
Each material has its own benefits for your water supply line wall routing. PEX pipes are great because they’re flexible. This makes them perfect for going around obstacles in wall cavities. They can bend easily, which means fewer fittings and less chance of leaks.
“Proper pipe installation is the foundation of a reliable plumbing system.” – Professional Plumbing Association
Important things to think about when running water pipes through walls include:
- Maintaining proper pipe support
- Protecting pipes from freezing
- Minimizing noise and vibration
- Allowing for pipe expansion and contraction
Install shut-off valves at key spots for easy maintenance and emergency water control. Access panels are great for future maintenance, keeping your water supply lines accessible and working well.
Setting Up Drain Lines and Vents
Drain lines and vents are key to good wall cavity plumbing. They need careful planning and exact execution. This ensures good drainage and avoids plumbing problems.
Knowing how to install drain lines is important. It helps create a plumbing system that works well and meets building codes. It also prevents future issues.
Proper Slope Calculations
Drain pipes must have the right slope for water to flow well. This prevents debris from building up. Here are some tips for the best drainage:
- Horizontal drain pipes should slope 1/4 inch per foot
- Larger pipes might need a slightly different slope
- Use a digital level to check the angles
Vent Stack Installation
Vent stacks are vital for keeping air pressure right in your plumbing. They stop sewer gases from getting into your home. They also help with smooth drainage.
| Vent Stack Type | Typical Location | Purpose |
|---|---|---|
| Main Vent Stack | Roof Penetration | Primary Air Pressure Regulation |
| Secondary Vent | Interior Walls | Localized Pressure Equalization |
| Circuit Vent | Bathroom Cluster | Group Drainage Support |
When using wall cavity plumbing, remember to place vent stacks correctly. This prevents drainage problems and keeps the system working well.
Connecting Fixtures and Testing
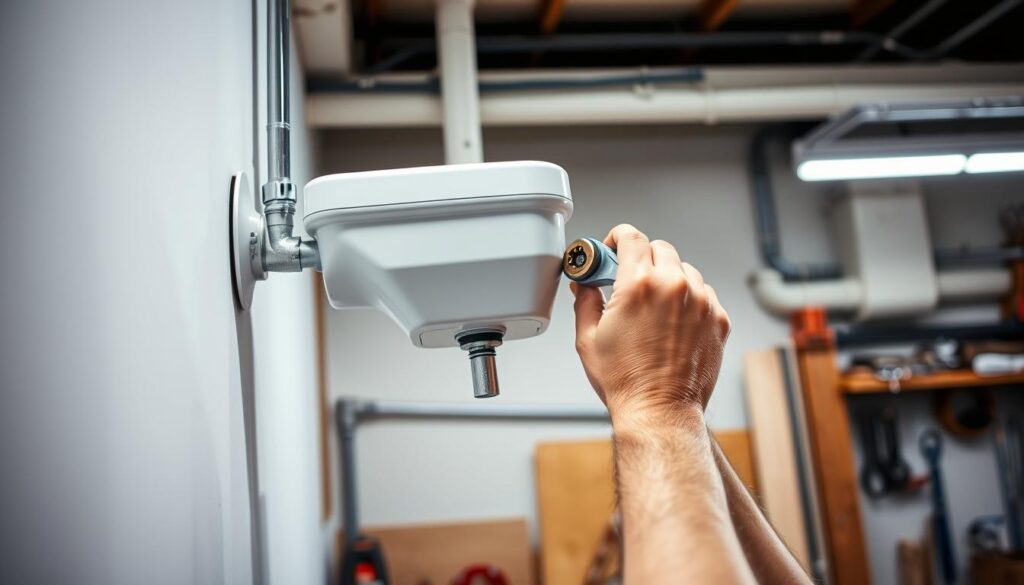
Finishing your wall-mounted fixture installation needs focus and careful connections. First, install your main plumbing lines. Then, connect various fixtures securely and test the whole system.
Start by getting ready with the right tools and parts. You’ll need:
- Adjustable pipe wrenches
- Plumber’s tape
- Pipe sealant
- Fixture-specific connection fittings
- Pressure testing gauge
Here are the key steps for connecting fixtures:
- Clean all connection points carefully
- Apply plumber’s tape to threaded connections
- Align fixtures precisely
- Tighten connections without over-torquing
Pressure testing is key to check if your plumbing works right. Use a pressure testing gauge to find leaks in water supply lines. The pressure range depends on local building codes.
| Fixture Type | Typical Pressure Test Duration | Recommended Pressure Range |
|---|---|---|
| Kitchen Sink | 15 minutes | 40-80 PSI |
| Bathroom Fixtures | 30 minutes | 50-70 PSI |
| Shower Installations | 45 minutes | 60-75 PSI |
If you find leaks, mark them right away and check connections again. Proper wall-mounted fixture installation requires patience and precision.
Wall Cavity Insulation and Vapor Barriers
Protecting your plumbing system is more than just installing it. You need to think about insulation and keeping moisture out. Your wall cavities must be planned carefully to avoid damage and keep things running smoothly.
Choosing the right insulation is key when hiding plumbing in walls. Different materials suit different needs for your project.
Moisture Protection Strategies
- Install vapor barriers to prevent condensation
- Maintain minimum 1/2 inch gap between pipes and insulation
- Use waterproof membranes in high-moisture areas
- Seal all possible entry points for moisture
Insulation Types for Plumbing Walls
| Insulation Type | Moisture Resistance | R-Value |
|---|---|---|
| Fiberglass Batts | Low | 3.0-4.3 |
| Spray Foam | High | 6.0-7.0 |
| Rigid Foam Board | Medium | 4.5-5.5 |
Spray foam insulation is top-notch for keeping moisture out. It fills gaps well and insulates well too.
Always check local building codes and get expert advice for tricky insulation jobs. The right setup keeps your plumbing safe and efficient for a long time.
Drywall Installation and Finishing
After finishing your wall plumbing guide, the last step makes your walls look great. Drywall installation needs precision to get a professional look around plumbing fixtures.
Start by measuring and marking where pipes will go. Your guide says to cut holes accurately for pipes and fixtures. Use special drywall tools like:
- Drywall saw
- Utility knife
- Measuring tape
- Pencil for marking
When cutting holes for pipes, remember to leave small expansion gaps. This helps prevent drywall from cracking due to pipe expansion and contraction.
Choose the right drywall for your area. Use green board or cement board near plumbing to avoid water damage.
| Drywall Type | Best Used For | Moisture Resistance |
|---|---|---|
| Standard White Board | Dry interior walls | Low |
| Green Board | Bathrooms, kitchens | Moderate |
| Cement Board | Direct water contact areas | High |
For a smooth finish, focus on joint treatment. Use mesh tape and multiple layers of compound for seamless seams around plumbing.
Sand between layers to get a surface ready for paint or more treatments. Your careful work will make the wall look flawless, hiding all plumbing work.
Conclusion
Finishing a wall plumbing project needs careful planning, precision, and skill. This guide has shown you how to plumb a wall well and safely. Each step, from understanding wall framing to installing lines, builds on your skills.
You now have the knowledge to tackle plumbing projects with more confidence. Remember, good wall plumbing needs attention to detail and following local codes. Some jobs are easy, but complex ones might need a pro.
Always put safety first in plumbing work. Learn what your space needs, choose quality materials, and ask pros for help when needed. With practice, you’ll get better at plumbing walls and make systems that work well.
