Affiliate Disclosure
Plumber Guide Guys is a participant in the Amazon Services LLC Associates Program, an affiliate advertising program designed to provide a means for sites to earn advertising fees by advertising and linking to Amazon.
How to Plumb a Shallow Well Pump? Are you fed up with water pressure issues and expensive pump systems? What if you could install a shallow well pump yourself and cut down on costs?

Installing a shallow well pump is key for homeowners with private water sources. Knowing how to do it can make your water system better and more reliable. This guide will show you how to do it step by step, so you can do it yourself with confidence.
Water systems up to 20 feet deep need special skills and knowledge. Whether you’re updating an old pump or setting up a new one, this guide has the info you need to get it right.
Key Takeaways
- Learn the basics of shallow well pump systems
- Understand important safety steps for installation
- Save money by doing the installation yourself
- Know what tools and materials you’ll need
- Feel more confident in maintaining your water system
Table of Contents
Understanding Shallow Well Pump Systems
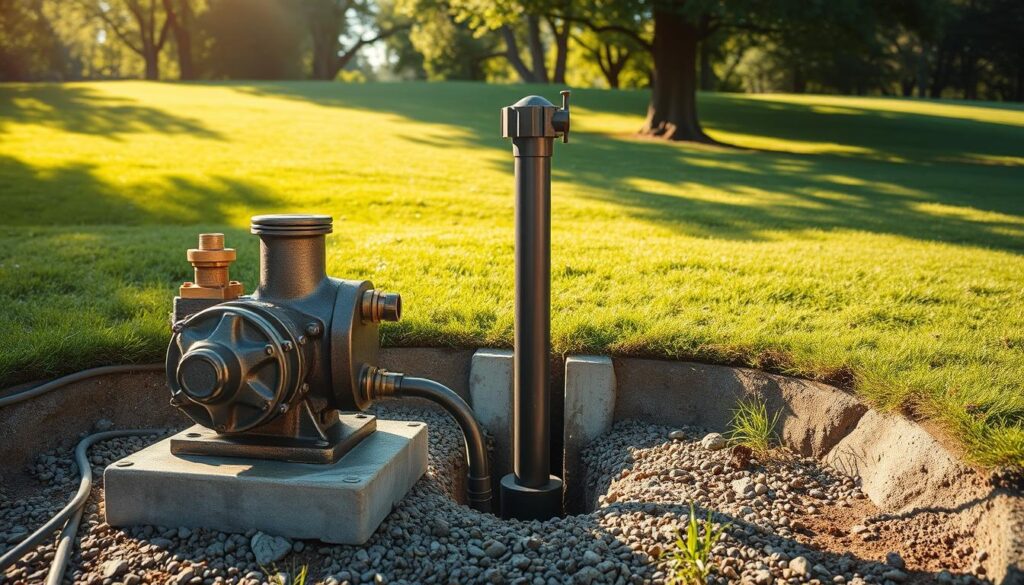
Exploring shallow well pump systems means knowing their main parts and how they work. These systems pull water from shallow underground, usually up to 20 feet deep.
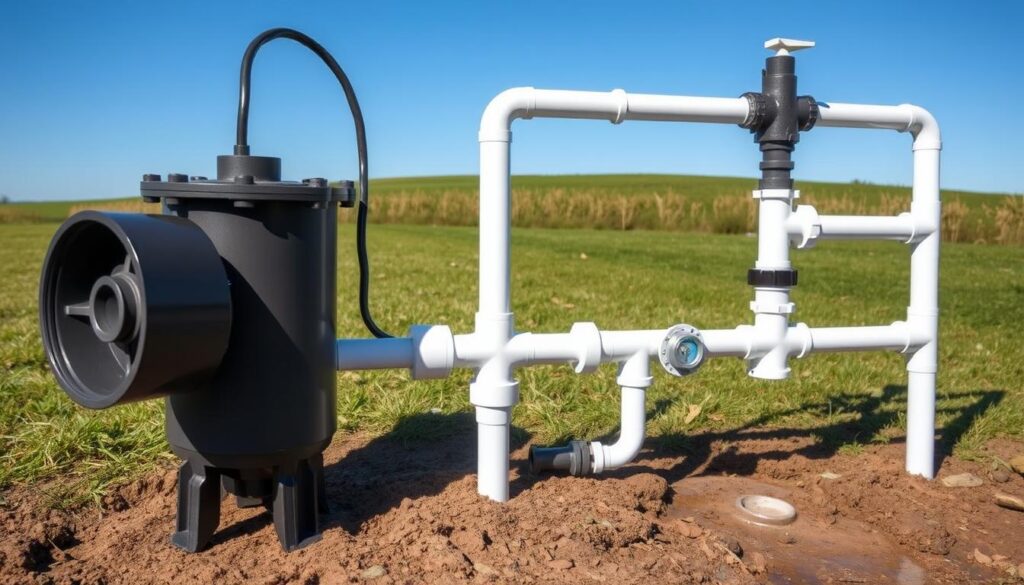
A plumbing diagram shows the detailed parts that work together to bring water to your home. Knowing these parts is key before starting the installation.
Types of Well Pumps
There are two main types of shallow well pumps:
- Jet Pumps: Sit above ground and are best for shallow water
- Submersible Pumps: Go straight into the water source
Maximum Depth Considerations
Shallow well pumps have depth limits. They work best when:
- The water table is under 20 feet
- The ground is easy to work with
- The lift needed is not too high
Essential Pump System Components
A typical shallow well pump setup includes:
- Pump unit
- Pressure tank
- Control switch
- Piping system
- Check valve
Knowing these parts is essential for a successful installation. Each part is important for a reliable water system at your place.
Essential Tools and Materials for Installation
Getting ready for a DIY well pump setup means collecting the right tools and materials. With everything you need ready, your water pump system setup will be a breeze. This makes the installation process smooth and efficient.
- Pipe wrenches (various sizes)
- Safety glasses
- Protective work gloves
- Pipe vices or clamps
- Teflon tape
- CSA/UL approved electrical tape
- Adjustable wrench
- Tape measure
- Level
For a reliable water pump system setup, you’ll need certain materials:
- Galvanized or PVC pipes
- Pipe fittings
- Pressure tank
- Check valve
- Pressure switch
- Electrical cable
- Pipe sealant
Choose high-quality tools and materials for your DIY well pump setup. Good preparation helps avoid problems during installation. It also makes your water pump system last longer. Always wear protective gear and follow instructions carefully for safety.
Safety Precautions and Pre-Installation Requirements
Installing a connecting shallow well pump needs careful planning and strict safety rules. Water well pump plumbing has many important steps. These steps require your full attention and caution.
Before starting any water well pump plumbing project, safety and preparation are key. Follow these guidelines to ensure a safe installation process.
Electrical Safety Guidelines
Electrical safety is critical when working with well pump systems. To protect yourself, follow these important steps:
- Always disconnect power before starting installation
- Use properly grounded electrical equipment
- Wear insulated rubber-soled shoes
- Utilize a voltage tester to confirm circuit deactivation
Local Code Compliance
Connecting a shallow well pump must follow local rules. Check with your local authorities to know what’s required.
| Compliance Category | Required Actions |
|---|---|
| Permit Requirements | Obtain necessary installation permits |
| Inspection Protocols | Schedule professional system review |
| Safety Regulations | Follow state-specific well pump installation codes |
Well Condition Assessment
Checking your well’s condition is vital before installing a connecting shallow well pump. Look for any issues that could affect system performance:
- Check well casing for cracks or damage
- Measure water depth and quality
- Verify well diameter matches pump specifications
- Remove any debris or sediment
Remember: Thorough preparation reduces risks and ensures a successful water well pump plumbing installation.
How to Plumb a Shallow Well Pump
Plumbing a shallow well pump needs careful planning and precise steps. Knowing the right ways to pipe your well pump is key for a steady water supply. Here are the main steps to plumb your shallow well pump right.

Choosing the right pipe is vital when plumbing a shallow well pump. The depth of your well determines the best pipe material for top performance.
| Well Depth | Recommended Pipe Type | Pressure Rating |
|---|---|---|
| 0-100 feet | Polyethylene Plastic Pipe | 100 PSI |
| 100-220 feet | Polyethylene Plastic Pipe | 160 PSI |
| 220+ feet | Galvanized Steel Pipe | Higher Pressure Rating |
Here are the main steps for well pump piping installation:
- Measure the exact depth of your well
- Select appropriate pipe material based on depth
- Ensure tight, leak-free connections
- Install check valves to prevent backflow
- Route pipes to minimize air pockets
Installing your well pump piping right needs precision. Take your time and double-check each connection to prevent future problems. If unsure about any step, get a pro to ensure safe and effective installation.
Installing the Pressure Tank and Control System
Getting your jet pump installed right means setting up the pressure tank and control system correctly. This ensures steady water pressure and keeps your well pump from getting too much stress.
Choosing the right pressure tank is key for your water system’s success. A captive air tank is great for shallow well pumps because it:
- Prevents water logging issues
- Allows for bigger draw-downs
- Makes connecting tanks easier
- Reduces stress on the pump
Pressure Switch Setup
Your pressure switch controls when the pump runs based on water needs. Most homes use a 30/50 or 40/60 PSI switch. It turns the pump on and off at certain pressure levels.
Tank Positioning Guidelines
Where you put your tank affects how well your system works and how easy it is to maintain. Place your tank in a:
- Dry spot
- Well-ventilated area
- Place with little temperature change
- Spot that’s easy to get to for maintenance
Relief Valve Installation
A pressure relief valve is a must for safety. Plumbing codes say you need it to avoid overpressure problems. Make sure the valve can handle your jet pump’s flow rate.
| Tank Type | Recommended Use | Pressure Range |
|---|---|---|
| Captive Air Tank | Residential Wells | 30-60 PSI |
| Standard Pressure Tank | Limited Water Demand | 20-40 PSI |
By following these tips, you’ll have a strong water system. It will have reliable connections and the pump will work its best.
Connecting Suction and Discharge Lines
Choosing the right pipes is key for your water well pump’s long life. The suction line is vital for the pump’s efficiency. It helps avoid future problems.
For water well pump piping, you have several material options:
- Schedule 80 PVC
- Polyethylene pipe
- Galvanized steel pipe
Approved plastic pipes are great for installation. They’re light and easy to move in shallow wells. Professional installers suggest using galvanized steel for exposed parts. It’s better at handling cold and lasts longer.
Here are important steps for connecting your well pump piping:
- Make sure all pipe joints are tight
- Put a one-way check valve in the feed line
- Support the pipes to avoid stress on the pump
- Use crimp connectors for strong attachments
Correctly installing suction and discharge lines boosts your water well pump’s performance. It also helps avoid system failures.
Priming and Initial Startup Procedures
After setting up your well pump, making sure it works right is key. The first steps are important for the pump to run well.
Getting the water ready is the first step. If you don’t prime it right, your pump might get damaged or not work well.
Water Testing Process
Here’s what to do when you start your pump:
- Run the pump for a while to clear the water
- Take water samples to check for dirt
- Look at how clear and colored the water is
- Make sure there’s no sand or dirt in the water
System Pressure Adjustment
Getting the pressure just right is important for your pump. You’ll need to tweak the pressure switch and tank settings.
| Pressure Setting | Typical Range | Recommended Action |
|---|---|---|
| Cut-in Pressure | 30-50 PSI | Check factory default settings |
| Cut-out Pressure | 50-70 PSI | Adjust based on household needs |
Troubleshooting Initial Operation
Be on the lookout for these problems:
- Loss of prime
- Inconsistent water pressure
- Unusual pump noises
- Water discoloration
Pro tip: Always check your pump’s manual and local water rules during setup and start-up.
Maintenance and Care Tips

Keeping your water pump system in good shape is key. A well-kept shallow well pump can last for years. This saves you money and time on repairs.
To keep your system running well, follow these tips:
- Check the pump and area around it every month for damage
- Look at pressure and system performance every three months
- Clean the well cap to keep it free from debris
- Test your water quality once a year for safety and efficiency
Important maintenance tasks for your shallow well pump include:
- Lubricate moving parts as the maker says
- Replace old parts before they break the system
- Winterize your system to avoid freeze damage
| Maintenance Task | Frequency | Purpose |
|---|---|---|
| Visual Inspection | Monthly | Detect early signs of wear or damage |
| Pressure Check | Quarterly | Ensure optimal system performance |
| Water Quality Test | Annually | Verify water safety and system efficiency |
Pro tip: If you’re unsure about maintenance, get help from a professional well pump technician. They can give you advice for your specific setup.
By following these maintenance steps, you’ll keep your investment safe. And you’ll have a reliable water supply for your home.
Conclusion
Installing a shallow well pump needs careful planning and precise steps. You must understand each step from choosing the system to setting it up. This guide helps you tackle the technical parts of plumbing a shallow well pump confidently.
Safety is key when working with water systems. Always follow electrical safety, local codes, and choose the right equipment. The process of plumbing a shallow well pump has many technical parts that need your focus and a systematic approach. Regular maintenance keeps your pump working well for years.
This guide offers detailed instructions, but know your limits. Some complex installations might need a pro. If you’re unsure, call a licensed well system technician. They can help avoid long-term problems with your water system.
Installing a well pump is an investment in your home’s water system. Take your time to learn each step, prepare well, and do it with care. Your effort will lead to a reliable water system for your home.

