Affiliate Disclosure
Plumber Guide Guys is a participant in the Amazon Services LLC Associates Program, an affiliate advertising program designed to provide a means for sites to earn advertising fees by advertising and linking to Amazon.
How to Install Pool Plumbing? Ever thought about what makes a swimming pool’s water system work perfectly? Installing pool plumbing might seem hard, but with the right info, you can set up a strong water flow system. This keeps your pool clean and ready to use.
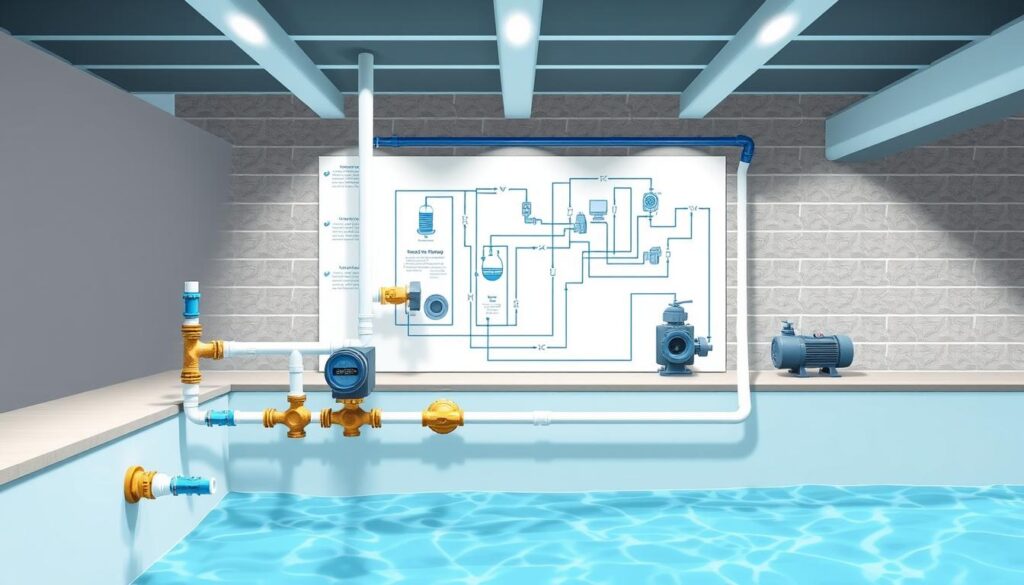
Installing pool plumbing is key to a pool’s good working. If you’re a homeowner or a DIY fan, this guide will help you through every important step. You’ll learn how to set up your pool’s plumbing system.
This guide will explain the technical parts of pool plumbing. You’ll see how each part is vital for keeping water clean, filtered, and your pool running well.
Key Takeaways
- Learn the fundamental steps of pool plumbing installation
- Understand the essential components of a pool circulation system
- Discover safety considerations and best practices
- Gain insights into proper pipe and fitting selection
- Master techniques for leak detection and pressure testing
Table of Contents
Understanding Pool Plumbing Basics
Starting a pool project means knowing about pool plumbing. The plumbing system is key to keeping the water clean and safe. It makes sure water moves well around the pool.
Creating a good inground pool plumbing diagram is important. It involves knowing the parts that work together. These parts help keep the water quality high and the system running smoothly.
Essential Components of Pool Circulation
The main parts of a pool’s system are:
- Skimmers: Collect surface debris
- Suction lines: Carry water to the pump
- Pool pump: Moves water through the system
- Filter: Cleans the water
- Return lines: Put clean water back in the pool
- Main drains: Take water from the bottom
Types of Pool Plumbing Systems
There are different pool plumbing systems. Each one is designed for specific needs. The design affects how well water flows and how the pool works.
| System Type | Key Characteristics | Best Used For |
|---|---|---|
| Single Suction | Basic water circulation | Smaller residential pools |
| Dual Suction | Enhanced water movement | Medium to large pools |
| Commercial Grade | High-volume circulation | Public and competitive pools |
Safety Considerations and Regulations
When planning your pool’s plumbing, safety rules are very important. The Virginia Graeme Baker Pool and Spa Safety Act sets rules to prevent accidents. It helps keep swimmers safe.
Proper plumbing design isn’t just about water flow—it’s about protecting those who use the pool.
Knowing the basics of pool plumbing helps make a safe and fun swimming area. It’s all about creating a great place for everyone to enjoy.
Planning Your Pool Plumbing Layout
Creating a good swimming pool plumbing layout is key for a working pool system. Your pool’s design needs careful planning for the best water flow and filtration.
When making your pool plumbing guide, think about these important points:
- Pool shape and dimensions
- Total water volume
- Desired water features
- Specific circulation requirements
The right plumbing layout starts with knowing your pool’s special features. Putting skimmers, return jets, and main drains in the right spots is vital. It affects your pool’s water flow system.
Important things to consider in your pool plumbing guide are:
- Look at the pool’s total square footage
- Figure out the best pipe size
- Plan where each part goes
- Work out how much water will flow
Professional tip: Always make a detailed plan before starting your pool plumbing installation. This helps avoid problems during construction.
A well-planned swimming pool plumbing layout can save you a lot of time and money on maintenance later.
Remember, every pool is different, and your plumbing design should match its needs. Talking to a professional pool designer can give you advice that fits your project.
Essential Tools and Materials for Pool Plumbing Installation
Getting ready for a DIY pool plumbing setup means picking the right tools and materials. A good plan for connecting pool pipes can save you time and avoid problems.
Before you start your pool plumbing project, you’ll need a lot of tools and supplies. The right tools can make your installation smooth and easy.
Essential Plumbing Tools
- PVC pipe cutters
- Pipe wrenches
- Measuring tape
- Marker or chalk
- Safety glasses
- Work gloves
Critical PVC Pipes and Fittings
Choosing the right PVC materials is key for your DIY pool plumbing setup. You’ll need:
- Schedule 40 PVC pipes
- Various pipe connectors
- Elbows and T-joints
- Reducer fittings
- Thread sealant
Additional Installation Supplies
Connecting pool pipes needs more than basic tools. Make sure you have these important supplies:
- PVC primer
- PVC cement
- Pipe thread tape
- Lubricant for rubber seals
- Sandpaper for pipe preparation
Pro tip: Always buy high-quality materials from trusted suppliers. This ensures your pool plumbing system lasts long.
How to Install Pool Plumbing: Main Steps
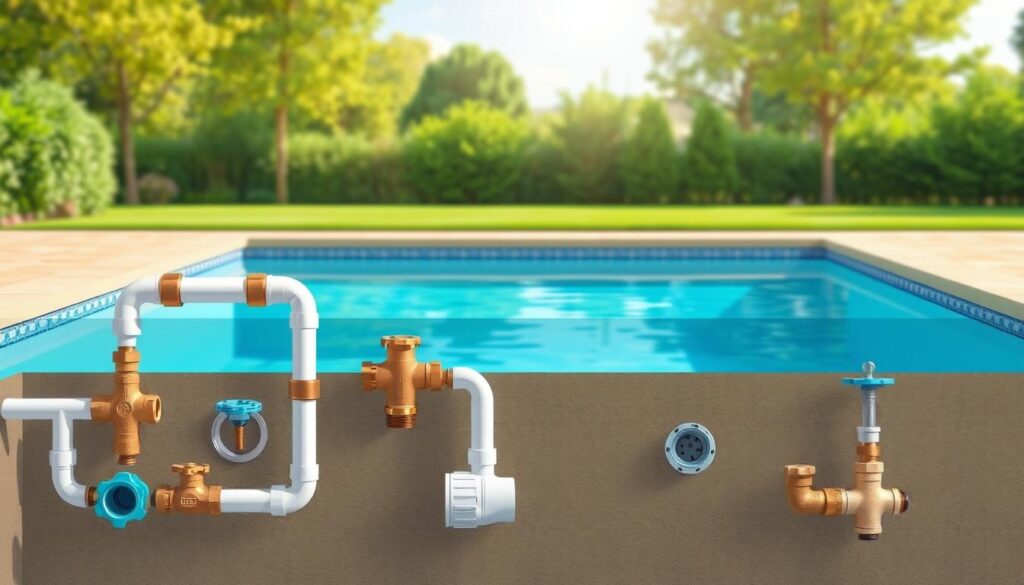
Starting a pool plumbing installation project needs careful planning and precise steps. The process involves several key stages. These stages require attention to detail and technical skill.
Your pool plumbing installation guide starts with site preparation. Important steps include:
- Excavating the pool area with precise measurements
- Creating a level foundation for optimal drainage
- Marking designated areas for plumbing lines
- Ensuring proper slope for efficient water flow
When routing plumbing lines, aim to minimize bends and create direct paths. Professional pool plumbing guides recommend using schedule 40 PVC for durability and optimal water circulation.
“Proper planning prevents poor pool performance” – Pool Installation Professionals
During installation, consider these key points:
- Maintaining consistent pipe diameter
- Using appropriate pipe supports
- Protecting pipes from damage
- Ensuring proper alignment with pool equipment
Remember, precision in pool plumbing installation can save significant time and money in future maintenance.
Installing Skimmers and Return Jets
Setting up a good swimming pool plumbing layout is key. It involves placing skimmers and return jets right. These parts are vital for keeping water moving and clean. Knowing how to install them well can make your pool work better.
Skimmers help get rid of surface dirt and keep water quality up. When making your inground pool plumbing diagram, keep these tips in mind:
- Put skimmers on the side where winds blow water
- Keep skimmers away from pool steps and ladders
- Make sure skimmers are far enough apart for good water flow
Strategic Skimmer Placement
Your pool’s plumbing layout should focus on skimmer efficiency. Pools usually need one skimmer for every 400-500 square feet. Placing them right helps catch more debris and eases the load on your pool’s filters.
Return Jet Configuration
Return jets are key for water movement. Aim for a circular water movement. This spreads chemicals out and stops dead spots in your pool.
- Angle return jets slightly downward
- Position jets to create a clockwise or counterclockwise flow
- Avoid direct jet streams that might disrupt swimmer comfort
Pro tip: Always check local building codes and get expert advice when setting up your pool’s plumbing layout.
Setting Up the Main Drain System
Your pool’s main drain system is key to its plumbing. It’s important to set it up safely and correctly. This ensures your pool is both safe and efficient.
The main drain is vital for keeping water moving in your pool. It must be installed right to meet safety laws. The Virginia Graeme Baker Pool and Spa Safety Act has rules to follow to avoid dangers.
- Install dual main drains to reduce entrapment risks
- Use approved anti-entrapment covers
- Ensure proper spacing between drains
- Connect drains securely to the pool’s plumbing system
When you’re making your inground pool plumbing diagram, focus on the main drain setup. Where and how you place main drains is key for safety and water flow.
| Main Drain Requirement | Specification |
|---|---|
| Minimum Number of Drains | Two per pool |
| Drain Cover Type | Anti-entrapment, VGB compliant |
| Minimum Distance Between Drains | 3 feet apart |
Experts say to use Schedule 40 PVC pipes for main drain connections. These pipes are strong and work well in your pool’s plumbing.
Safety first: Always consult local building codes and professional pool installers when setting up your main drain system.
Connecting Pool Pump and Filter Components
The pool pump and filtration system are the heart of your swimming pool. Making sure the plumbing is right is key for good water flow and clear water. Knowing how to install your pool’s filtration system can save you time and money.
- Choose a pump location that’s easy to get to and maintain
- Put the pump below water level if you can to make priming easier
- Pick the right pipe sizes for the best water flow
- Keep plumbing straight to cut down on friction and boost efficiency
Pump Installation Guidelines
Your pool pump needs the right spot and careful hook-up. Where you put it matters a lot for water flow. Put the pump on a flat, solid spot, close to the pool but away from sun and splashes.
Filter System Setup
Hooking up your filter to the pump needs careful plumbing. You’ll need to:
- Match the pump and filter ports right
- Use the right PVC connectors and sealants
- Make sure connections are tight and leak-free
- Check that input and output lines are aligned
Pro tip: Always check your equipment’s manual for the best installation steps for your pool.
Plumbing Pad Design and Setup
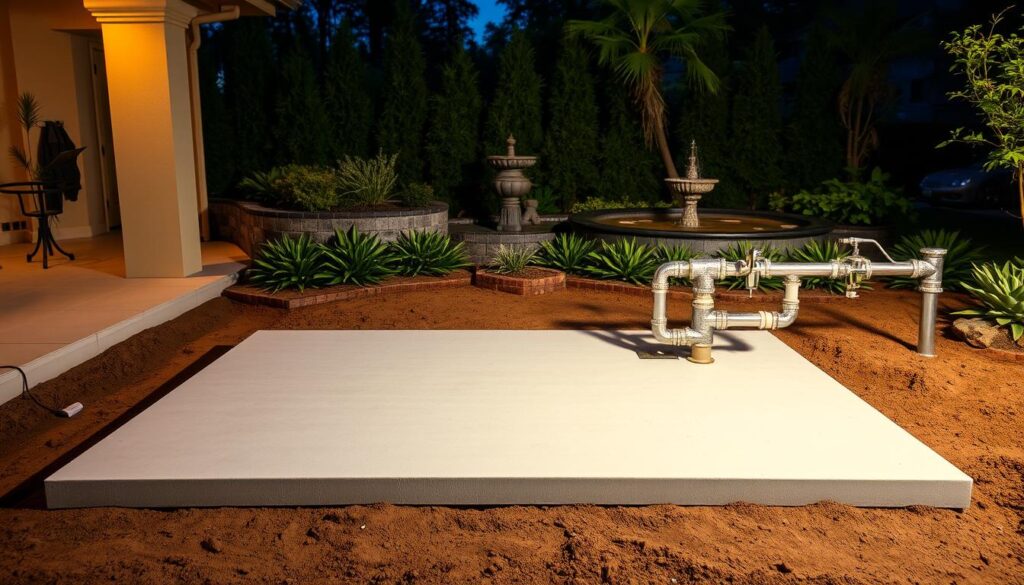
Creating a well-designed plumbing pad is key for your pool filtration system. It’s the base for all important pool equipment. This ensures your pool plumbing is installed right and makes maintenance easy.
When planning your plumbing pad, think about these important design elements:
- Optimal location 15-20 feet from the pool
- Recommended pad size of 4 feet x 8 feet
- Level, stable surface for equipment placement
- Protection from environmental elements
Your plumbing pad should have enough room for your pool pump, filter, and more. A concrete pad is best. It gives a solid, level surface that keeps equipment steady and safe from damage.
| Pad Component | Recommended Specification |
|---|---|
| Material | Reinforced Concrete |
| Thickness | 4-6 inches |
| Slope | Minimal (1/4 inch per foot) |
| Drainage | Slight grade away from equipment |
When setting up your plumbing pad, make sure it drains well. Think about adding more equipment later. Placing equipment wisely makes maintenance and upgrades easier.
Professional tip: Add extra space around equipment for easy maintenance and future changes.
Pressure Testing and Leak Detection
Finishing your diy pool plumbing setup means a final step: pressure testing. This step checks if all pool pipes are leak-free. It keeps your investment safe and stops water damage or system failures.
Pressure testing finds weak spots in your pool’s plumbing before filling it with water. Finding leaks early saves time and money on repairs later.
Essential Testing Procedures
To do a good pressure test, you need special tools and a careful plan. Here are the main steps:
- Plug all pipe openings securely
- Connect a pressure testing device to the plumbing system
- Slowly raise pressure to the right levels
- Watch the pressure gauge for 24-48 hours
Common Leak Detection Points
When setting up your pool plumbing, watch these leak-prone spots:
- Skimmer connections
- Return jet interfaces
- Pipe joint seams
- Valve connection points
If pressure drops, check these spots with soap bubble solution. Small bubbles mean air is escaping, showing where to fix.
Professional tip: Always perform pressure testing before backfilling trenches to ensure easy access for any repairs.
Being patient and thorough is vital for a strong, leak-free pool plumbing system. It will last for many years.
Backfilling and Final Connections
Finishing your inground pool plumbing needs careful backfilling and precise connections. Your pool plumbing guide hits a key point where safety and setup matter a lot.
Backfilling means putting soil back around your pool’s plumbing lines safely. Here are the key steps:
- Use clean, compactable fill material
- Backfill in 6-inch layers
- Compact each layer well
- Keep big rocks or debris away from plumbing lines
Drainage is key when finishing your pool plumbing. Make sure the area around the pool slopes gently. This keeps water away and protects your plumbing.
Connecting your last plumbing parts needs to be exact. Make sure:
- Connections are tight and leak-free
- Pump and filter systems are aligned right
- Return jets and skimmers are mounted securely
- All connection points are checked
Pro tip: Use pipe thread sealant or Teflon tape on threaded connections. This ensures a tight seal and stops leaks.
Your careful work in backfilling and connections will make your pool plumbing system strong and lasting. It will work well for many years.
Conclusion
Installing pool plumbing needs careful planning and attention to detail. This guide has given you the knowledge to build a strong swimming pool circulation system. You now understand how to tackle this home improvement project.
Safety and precision are key when working with pool plumbing. The methods in this guide will help you face any challenges during installation. Whether you do it yourself or hire professionals, your knowledge will be very helpful.
Keeping your pool plumbing system in good shape is important. Regular checks, quick leak fixes, and clean components prevent big problems. Your effort in learning how to install it right will save you money and keep your pool working well.
Remember, patience and careful work are your best friends in this project. Every connection, pipe, and fitting is important for a smooth water flow system. It will bring joy to you and your family for many years.
FAQ
What are the most important components of a pool plumbing system?
Do I need special permits to install pool plumbing?
How long does a typical pool plumbing installation take?
What type of pipes are best for pool plumbing?
How do I prevent leaks in my pool plumbing system?
What safety regulations should I be aware of during pool plumbing installation?
Can I install pool plumbing myself, or should I hire a professional?
How often should pool plumbing be inspected?
What are the most common mistakes in pool plumbing installation?
How much does pool plumbing installation typically cost?
FAQ
What are the most important components of a pool plumbing system?
Key parts include skimmers, main drains, pumps, filters, return jets, and PVC piping. Each is vital for water flow, filtration, and system function.
Do I need special permits to install pool plumbing?
Yes, most places need permits for pool plumbing. You’ll need to submit plans and have inspections. Always check with your local authorities first.
How long does a typical pool plumbing installation take?
Installation time varies, from 2-5 days for a standard pool. It depends on the pool’s design, size, and your experience. Pros might finish faster.
What type of pipes are best for pool plumbing?
PVC pipes are best, with Schedule 40 being common. They’re durable, chemical-resistant, and easy to install. Make sure they’re rated for outdoor use.
How do I prevent leaks in my pool plumbing system?
Use the right primer and cement, ensure tight connections, and avoid over-tightening. Perform pressure tests and maintain your system regularly.
What safety regulations should I be aware of during pool plumbing installation?
Follow the Virginia Graeme Baker Act for safety. This includes dual main drains and proper spacing. Always follow local and federal regulations.
Can I install pool plumbing myself, or should I hire a professional?
DIY is possible for those with experience. But, if unsure, hiring a pro is safer and avoids mistakes.
How often should pool plumbing be inspected?
Get professional inspections annually and after big weather events. Do seasonal checks to catch issues early.
What are the most common mistakes in pool plumbing installation?
Mistakes include wrong pipe sizing, poor drainage, and bad component placement. Always plan carefully and follow codes.
How much does pool plumbing installation typically cost?
Costs range from
FAQ
What are the most important components of a pool plumbing system?
Key parts include skimmers, main drains, pumps, filters, return jets, and PVC piping. Each is vital for water flow, filtration, and system function.
Do I need special permits to install pool plumbing?
Yes, most places need permits for pool plumbing. You’ll need to submit plans and have inspections. Always check with your local authorities first.
How long does a typical pool plumbing installation take?
Installation time varies, from 2-5 days for a standard pool. It depends on the pool’s design, size, and your experience. Pros might finish faster.
What type of pipes are best for pool plumbing?
PVC pipes are best, with Schedule 40 being common. They’re durable, chemical-resistant, and easy to install. Make sure they’re rated for outdoor use.
How do I prevent leaks in my pool plumbing system?
Use the right primer and cement, ensure tight connections, and avoid over-tightening. Perform pressure tests and maintain your system regularly.
What safety regulations should I be aware of during pool plumbing installation?
Follow the Virginia Graeme Baker Act for safety. This includes dual main drains and proper spacing. Always follow local and federal regulations.
Can I install pool plumbing myself, or should I hire a professional?
DIY is possible for those with experience. But, if unsure, hiring a pro is safer and avoids mistakes.
How often should pool plumbing be inspected?
Get professional inspections annually and after big weather events. Do seasonal checks to catch issues early.
What are the most common mistakes in pool plumbing installation?
Mistakes include wrong pipe sizing, poor drainage, and bad component placement. Always plan carefully and follow codes.
How much does pool plumbing installation typically cost?
Costs range from $1,500 to $5,000 for a standard pool. It depends on size, complexity, and whether you DIY or hire pros. Get quotes and consider long-term value.
,500 to ,000 for a standard pool. It depends on size, complexity, and whether you DIY or hire pros. Get quotes and consider long-term value.
