Affiliate Disclosure
Plumber Guide Guys is a participant in the Amazon Services LLC Associates Program, an affiliate advertising program designed to provide a means for sites to earn advertising fees by advertising and linking to Amazon.
How Long Does Plumber Putty Take to Dry? Did you know plumbers use about 2.3 million gallons of plumber’s putty each year? It’s used to seal fixtures. The drying time for plumber putty might surprise you. It doesn’t really “dry” like other materials do. Instead, it stays soft and ready to seal right away.

Unlike other sealants that need a lot of time to cure, plumber putty dries almost instantly. You can usually use the fixture right after you install it. But, if it’s very cold, waiting about 10 minutes can help it work better.
Plumber’s putty is a key tool for both DIY fans and pros. It’s great for setting up sinks, fixing drains, or sealing other fixtures. Knowing how long it takes to dry can save you a lot of time and effort.
Key Takeaways
- Plumber’s putty doesn’t technically “dry” but remains flexible
- Most applications allow immediate use after installation
- Cold temperatures may require a 10-minute waiting period
- Provides an instant watertight seal for various plumbing fixtures
- Ideal for both professional and DIY plumbing projects
Table of Contents
Understanding What Plumber’s Putty Is and Its Purpose
Plumber’s putty is a key tool in plumbing repairs and installations. It’s a sealant that helps make connections watertight. Knowing how to use it can save you time and prevent water damage.
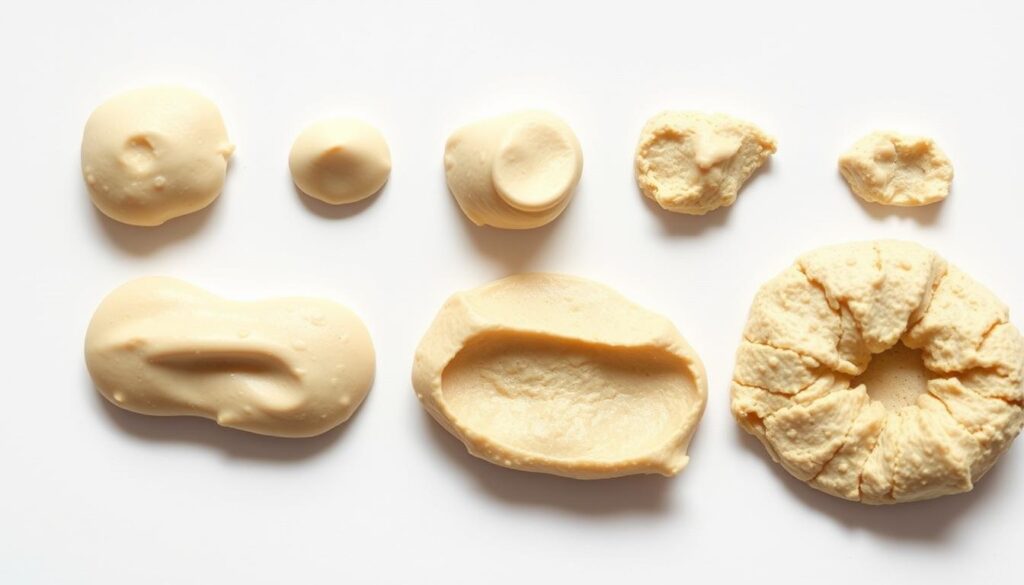
Unlike other sealants, plumber’s putty stays soft. This makes it perfect for certain plumbing jobs. Its special mix lets you shape it easily around different surfaces.
Key Components of Plumber’s Putty
The main parts of plumber’s putty are:
- Clay-like minerals
- Linseed oil
- Limestone
- Fish oils
Common Applications in Plumbing
Plumber’s putty is used in many plumbing tasks. You can use it for:
- Sealing sink basket strainers
- Installing faucet bases
- Securing pop-up drains
- Preventing leaks around shower drains
Benefits of Using Plumber’s Putty
Plumber’s putty doesn’t “cure” like other sealants. Its main benefits are:
| Benefit | Description |
|---|---|
| Flexibility | Remains soft and pliable after application |
| Water Resistance | Creates excellent watertight seals |
| Easy Application | Simple to mold and position around fixtures |
| Cost-Effective | Inexpensive solution for minor plumbing repairs |
Understanding plumber’s putty can help you complete plumbing projects with confidence.
How Long Does Plumber Putty Take to Dry?
Ever wondered how long plumber putty takes to dry? It doesn’t really dry like other sealants. Instead, it stays soft and pliable. This is key for a good seal in plumbing jobs.
Plumber putty is ready to use immediately after you apply it. You don’t have to wait for it to dry. This is great for fast plumbing fixes and setups.
“Plumber putty is designed to stay flexible, ensuring a tight seal without hardening over time.”
Now, let’s talk about its water resistance:
- Does plumber putty harden? No, it stays soft
- Is plumber putty waterproof? It’s water-resistant, but not fully waterproof
- Can it be used immediately? Yes, right after application
Plumbers love plumber putty for its quick use and flexibility. It makes a water-resistant seal that works well in most plumbing jobs. It’s a must-have for repairs and installations.
| Characteristic | Plumber Putty Details |
|---|---|
| Drying Time | Instant – No actual drying required |
| Water Resistance | Water-resistant, not fully waterproof |
| Flexibility | Remains soft and pliable |
Even though plumber putty is super useful, it’s not for all water situations. For places with lots of water or where water is always present, you might need something else.
Properties of Plumber’s Putty and Its Working Mechanism
Plumber’s putty is a key tool for both pros and DIY fans. It’s used for many plumbing tasks. Its special properties make it a must-have for fixing and setting up pipes.
What makes plumber’s putty stand out? It stays soft and can be shaped easily. This lets you seal tricky spots perfectly.
Chemical Composition
Plumber’s putty is made from mineral fillers and petroleum-based stuff. This mix gives it some big benefits:
- Stays soft and pliable after use
- Forms a water-resistant seal
- Doesn’t harden or crack over time
Sealing Properties
Plumber’s putty is great for removing and putting back. It doesn’t harden, so you can move it without harming surfaces.
- Fills gaps between different surfaces
- Prevents water leakage in plumbing fixtures
- Works well on many materials
Temperature Effects on Performance
Temperature affects plumber’s putty. In cold, you might need to work it more. Heat makes it softer, while cold requires extra effort.
Pro tip: Store plumber’s putty at room temperature for best results and ease of use.
Proper Application Techniques for Plumber’s Putty
Learning how to use plumber’s putty can save you time and prevent leaks. This material needs careful application for a tight seal. It works well for many fixtures and connections.
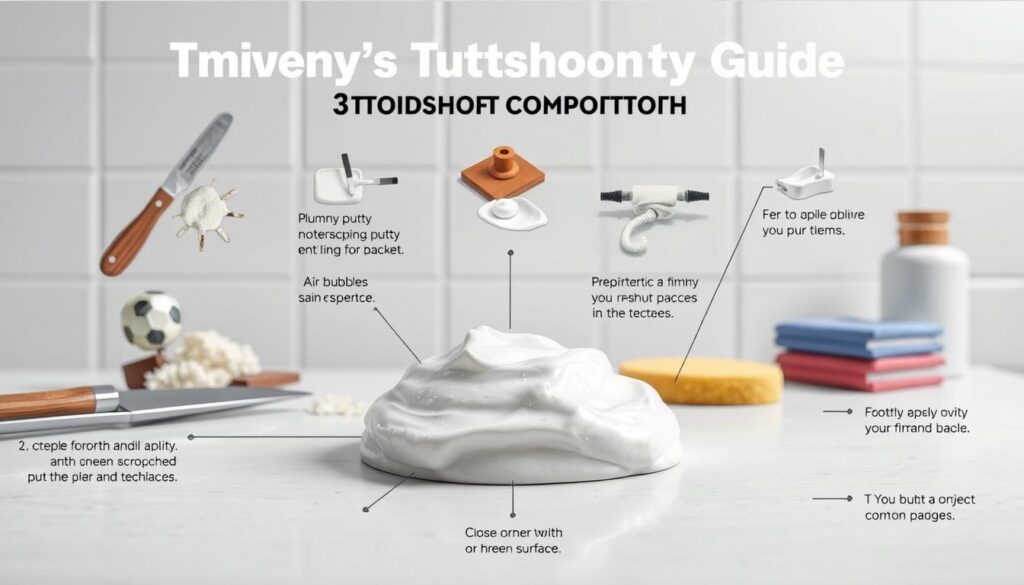
Here are the steps for using plumber putty correctly:
- Clean the surface well, removing old sealant or dirt
- Knead the putty to warm and soften it
- Roll the putty into a rope-like shape
- Put the putty around the fixture’s base or flange
- Press the fixture gently into place
- Wipe off extra putty with a clean cloth
“Proper technique is key to creating a reliable seal with plumber’s putty” – Professional Plumbing Experts
When using plumber’s putty, less is often more. Use a thin, even layer to avoid overflow and ensure a clean job. Each fixture might need a slightly different method, so always check the manufacturer’s instructions.
Pro tip: Make sure the putty is right before you start. If it’s too hard or crumbly, it won’t seal well. Warm the putty in your hands to make it soft and pliable for the best results.
Plumber’s Putty vs Silicone: Making the Right Choice
Choosing between plumber’s putty and silicone can be tough. DIY fans and pros alike face this challenge. Knowing the differences helps pick the best for your plumbing job.
Drying and Curing Differences
Plumber’s putty and silicone cure differently. Plumber’s putty is ready to use right away. It doesn’t need plumbing putty cure time. On the other hand, silicone takes a lot longer to cure.
| Property | Plumber’s Putty | Silicone |
|---|---|---|
| Cure Time | Instant | 24 hours – 2 weeks |
| Waterproofing | Temporary | Permanent |
| Surface Bonding | Weak | Strong |
Application Scenarios
Your choice depends on your project’s needs. Here are the best uses for each:
- Plumber’s putty is great for:
- Sink drain installations
- Temporary sealing
- Non-pressure areas
- Silicone is better for:
- Permanent seals
- High-moisture environments
- Outdoor applications
Durability Comparison
Durability is a key difference. Silicone offers long-lasting, waterproof seals. Plumber’s putty is more flexible but not as permanent. Think about your project’s needs when deciding.
When Not to Use Plumber’s Putty

It’s important to know when not to use plumber putty. This is to avoid damage and ensure your plumbing is sealed right. This material works well in many cases, but not all.
Plumber’s putty has its limits. Using it where it shouldn’t can lead to expensive fixes and water damage. Knowing when not to use it can help you avoid these problems.
- Avoid using on plastic materials (except PVC)
- Do not apply to porous surfaces like granite or marble
- Skip using for sealing toilets to floors
- Refrain from using in pressurized connections
Is plumber putty waterproof? Not really. It gives a temporary seal but isn’t a lasting fix for important connections.
| Material/Application | Recommended Action |
|---|---|
| Plastic Pipes | Use alternative sealants |
| High-Pressure Connections | Choose specialized pipe tape or thread sealant |
| Porous Stone Surfaces | Select silicone-based sealants |
Experts say to think about your project needs before using plumber’s putty. Picking the right sealant means your connections will last and stay leak-free.
Storage and Maintenance of Plumber’s Putty
Storing plumber’s putty right can make it last longer. It keeps it ready for your next plumbing job. Knowing how to take care of it helps keep it in top shape and stops it from drying out too fast.
Optimal Storage Conditions
It’s key to keep plumber’s putty safe from the environment. The right storage can make it dry faster. Here are some tips:
- Keep the container tightly sealed when not in use
- Store in a cool, dry place away from direct sunlight
- Maintain consistent room temperature
- Avoid extreme heat or cold environments
Detecting Putty Deterioration
It’s important to know when plumber’s putty is no good. Look out for these signs that it’s going bad:
- Hardened or cracked texture
- Unusual discoloration
- Loss of original soft, moldable consistency
- Dried edges or surface
Extending Putty Life
To keep plumber putty fresh and prevent it from drying out too soon, follow these tips:
- Always clean the container’s rim before sealing
- Use a clean tool when extracting putty
- Remove air pockets when closing the lid
- Check the manufacture date periodically
Pro tip: Most plumber’s putty can last up to two years when stored properly, but always inspect its condition before use.
Troubleshooting Common Plumber’s Putty Issues
Working with plumber’s putty can sometimes be a challenge. It can frustrate both DIY enthusiasts and professional plumbers. Knowing how to use plumber’s putty well and solve problems can save time and avoid expensive mistakes.

When using plumber’s putty, you might face several common issues. Here are some key strategies to help you manage your plumbing project smoothly:
- Hardened Putty: If your plumber putty becomes hard, try kneading it with warm water or a bit of cooking oil to make it flexible again
- Excess Putty: Use a plastic putty knife for clean, precise removal without damaging surfaces
- Uneven Seal: Make sure to apply even pressure to create a uniform seal
Removing plumber putty requires gentle techniques to avoid damaging surfaces. Always use soft tools like plastic scrapers or microfiber cloths. For tough residue, apply a mild cleaning solution that won’t harm your fixture’s material.
| Issue | Solution |
|---|---|
| Putty Too Dry | Knead with warm water or oil |
| Putty Too Soft | Let it sit at room temperature |
| Incomplete Seal | Reapply with even pressure |
By mastering these troubleshooting techniques, you’ll become more confident in using plumber’s putty. This will help you achieve professional-quality results in your plumbing projects.
Best Practices for Professional Plumbing Results
To get professional results with plumber’s putty, pay close attention to detail and use the right technique. Knowing how to apply plumber’s putty correctly can greatly improve your plumbing work’s quality.
Before you start, make sure your work area is ready. Clean and dry surfaces are key for plumber putty to work well. Dirt or moisture can ruin the putty’s sealing power.
- Inspect surfaces thoroughly before application
- Remove any old sealant or debris completely
- Ensure surfaces are completely dry
- Use clean, lint-free cloths for preparation
When applying plumber’s putty, how you do it is important. Roll the putty into a rope-like shape that fits well around fixtures. Avoid using too much putty, as it can cause mess and weaken the seal.
| Technique | Best Practice |
|---|---|
| Putty Amount | Use thin, even layer |
| Application Pressure | Gentle, consistent pressure |
| Fixture Tightening | Hand-tighten first, then slight wrench adjustment |
After you’ve installed it, always check for leaks. Run water and check the sealed area closely. Proper testing makes sure your plumber putty applications are watertight and look professional.
Conclusion
Plumber’s putty is a key tool in plumbing projects. It doesn’t dry like other materials. Instead, it stays soft and ready to use right away. This makes it perfect for creating tight seals in plumbing.
Getting plumber putty to work well depends on how you use it. It dries instantly, unlike other sealants that take a long time. This makes it great for sink drains, faucets, and more, where a flexible seal is needed.
By using the tips from this article, you can get the most out of plumber’s putty. It’s useful for both DIY fans and professional plumbers. Knowing how to use it can lead to top-notch results in your plumbing work.
Choosing the right sealant is important. Plumber’s putty is a must-have for home repairs. It’s easy to use and creates strong, water-tight seals where needed.

